As I work on setting up my new website, I am often sidetracked as I recall the design journey I took for each puzzle. “Desert Twins” definitely brought much happiness to me, along with anticipation, frustration, excitement, confusion, and a great sense of accomplishment. How wonderful that the emotions of my journey in designing the puzzle were mirrored by the person who commissioned it.
Following is a conversation Bronwen and I had as she was assembling the puzzle. Note that you can find more of Bronwen’s puzzling adventures on Flickr https://flickr.com/photos/182747602@N05.
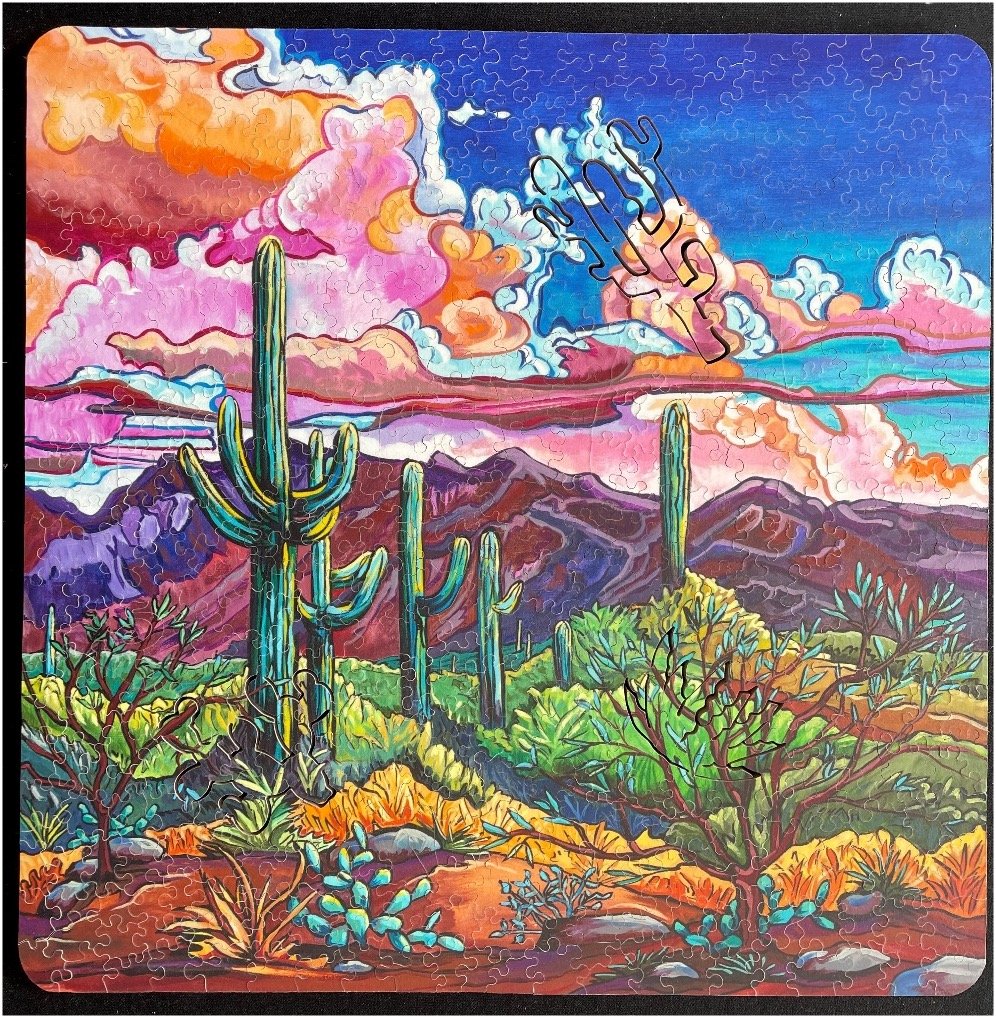
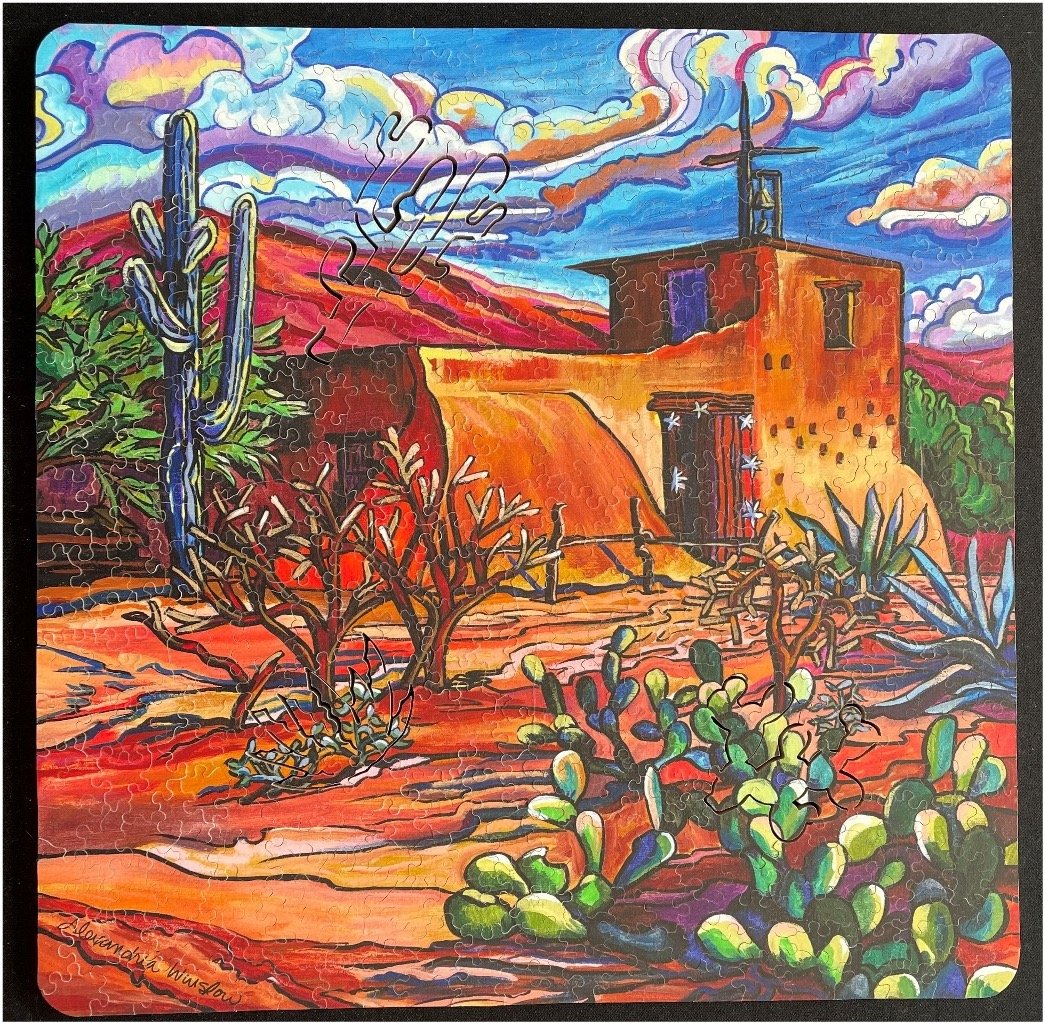
As the winter approached and after much practice at double sided puzzles, I cut Bronwen’s puzzle and put it in the post. She told me she was going to wait to assemble it until the cold, dark days of winter. I sat anxiously for weeks, waiting to hear her reaction when she finally decided to open it up.
Bronwen tackles the puzzle
Mystery puzzle from Shay
I so nearly made it to January, my least favourite month, which I try to spend puzzling. But when I saw Cat lady’s Pears commission, I couldn’t wait any longer. So I opened ‘Desert Twins’. And one thing about this puzzle, referred to in the title, was immediately obvious…Every piece you see is coloured – so the puzzle is double-sided (gulp)…
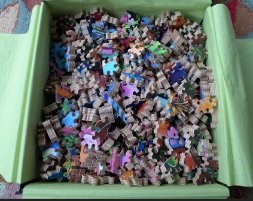
Naughty, Shay!
There were quite a lot of bright blue pieces in the box, some of which looked like edges, so I started there. In gloomy last-dregs-of-December light, I thought this was OK, until I turned it over (next photo)…
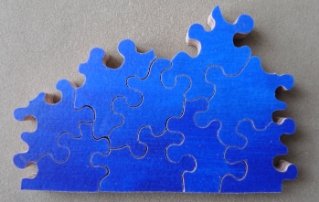
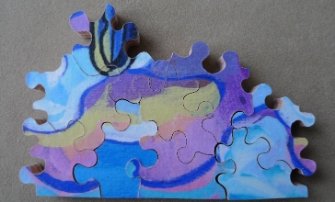
Oh dear
So not only is the puzzle double-sided, but pieces can fit in more than one place. Now I know this, I could just turn groups of pieces over every now and again to check them, but I feel that might be cheating. I’ll just have to colour match more carefully.
Desert Twins
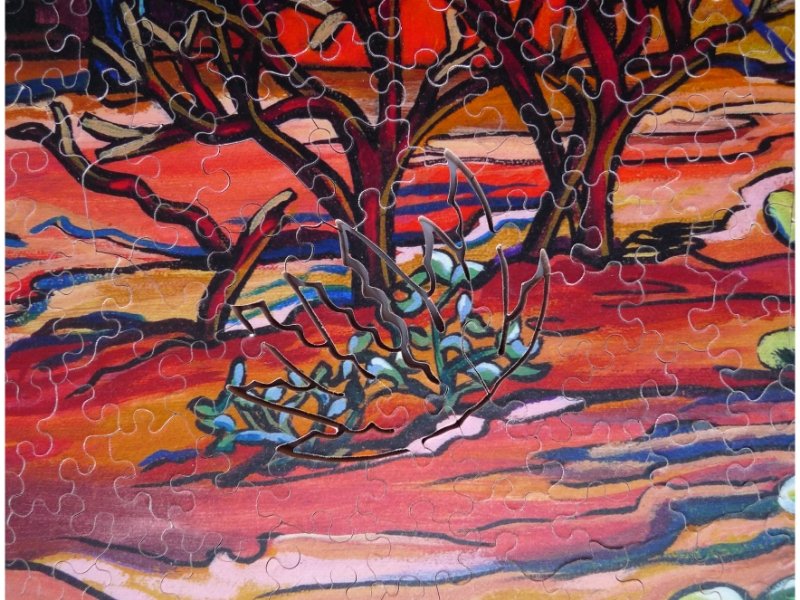
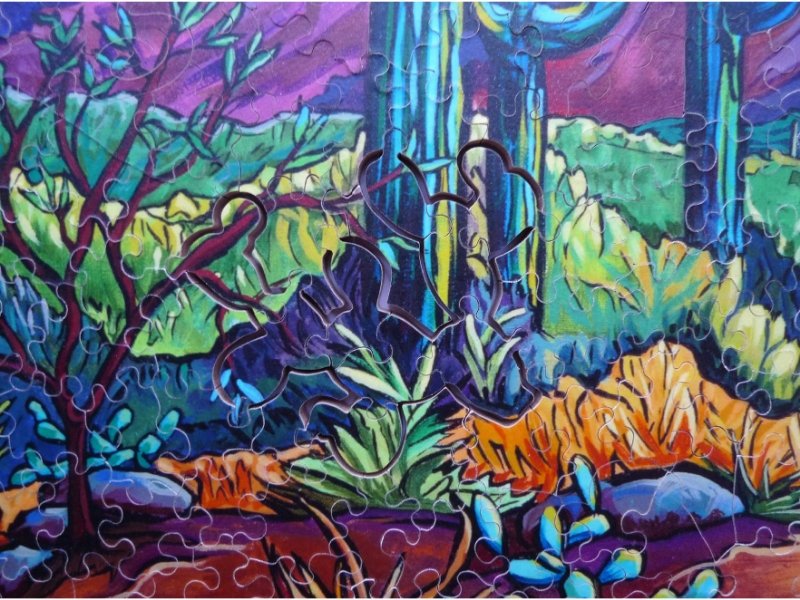
This amazing double-sided puzzle has 539 5-ply pieces, and measures 16″ x 16″. As if being double-sided wasn’t challenge enough, many of the pieces can fit in more than one place, and there are 3 large cactus drop-outs. Both prints are by artist Alexandria Winslow, who lives in Marana, Arizona, and paints in the Sonora desert, and across Arizona, Utah and New Mexico. This one is Desert Sanctuary. It’s a painting of what looks like an ancient mission, which was actually constructed of adobe in 1952 by another artist, Ettore deGrazia. The print is also available as a face mask; I’m very tempted… I didn’t upload any more photos of the puzzle as I did it; Shay has had enough fun at my expense without seeing my bewilderment as I had fewer and fewer pieces left and still couldn’t fit them together. Because, yes, I was working on the top half of one print and the bottom half of the other. But with no guide pictures, it was impossible to know that until almost the end, as I couldn’t find many of the edge pieces… And I’m still almost as bewildered now I’ve finished the puzzle. How is it possible to cut a perfect double-sided puzzle by hand? In most puzzles, there are a few nicks on the reverse, which can be sanded off and varnished. But a two-sided puzzle has to be perfect, and this one is.A puzzle with pieces which can fit in more than one place has usually been stack-cut in two halves. But I don’t see how that could be done with three large drop-outs cut into the puzzle. How were they designed, and at what stage were they cut? But while I wait for answers, I shall savour the warmth and dazzling colour of the Arizona desert, and ignore the drizzly gloom outside. The perfect January puzzle.
Shay’s Design Journey
Before committing the blade to the image, I practiced the sizing of the sculpting (aka sliver dropouts).
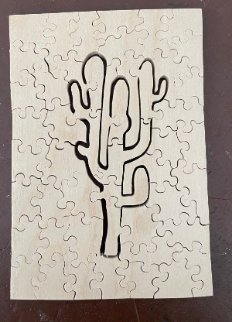
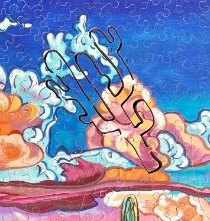
Challenge #1: Finding two images that are the same size and color scheme. These colorful images are art prints from FineArtAmerica.com, so I only got one chance to design and cut the puzzle.
Challenge #2: Mounting the first image was easy peasy, but then I had to mount the second image in the exact same spot on the back of the puzzle. I used a straight edge to draw a line from the mounted first image’s border across and down the side of the 1/4″ wood. I used the lines down the sides to line up the second image on the back.
Challenge #3: Next, I adhered transfer paper to each side of the puzzle to eliminate the whiskers and chips from cutting. I adhered my sculpting designs to one side of the puzzle, trimmed the puzzle and cut the sculpted areas first.
Challenge #4: Stack cutting with odd shaped & sized areas of puzzle. Since I already had transfer paper on the image, I used double stick tape to hold similarly colored sections together to stack cut.
Challenge #5: Though I didn’t have whiskers, the blade still roughs up the laminate layer a bit on the “down” side, so I frequently flipped from one side to the other when cutting. When completed and all the transfer paper taken off the pieces (not fun!), I used a 2500 polishing paper to gently sand the laminate to smooth it.
Challenge #6: Anticipation. I’m not the most patient, so waiting to see if Bronwen would enjoy her puzzle was “tickling” my brain for days and weeks! Today, I am released and relieved.
Bronwen’s “final word”
Even I hadn’t imagined the deviousness of choosing exact same colour sections on the two prints to stack cut. Serves you right if you were on tenterhooks for weeks!